Week 6 of build season coincides with our school’s spring/winter/something break so that’s fantastic right? Well… At this school, most people leave for breaks so we were not left with many. We made sure we got the word out that we have long build hours this week and we got a lot of great help from a good amount of students. Our schedule was from 8 am to about 7 pm every day. Really long days but with most students out of town progress stayed about constant as we had a lot less being worked on at the same time. Nevertheless we are extremely happy with the progress, but still have work to do in the last couple of days to finalize details on the competition robot.
Practice Robot
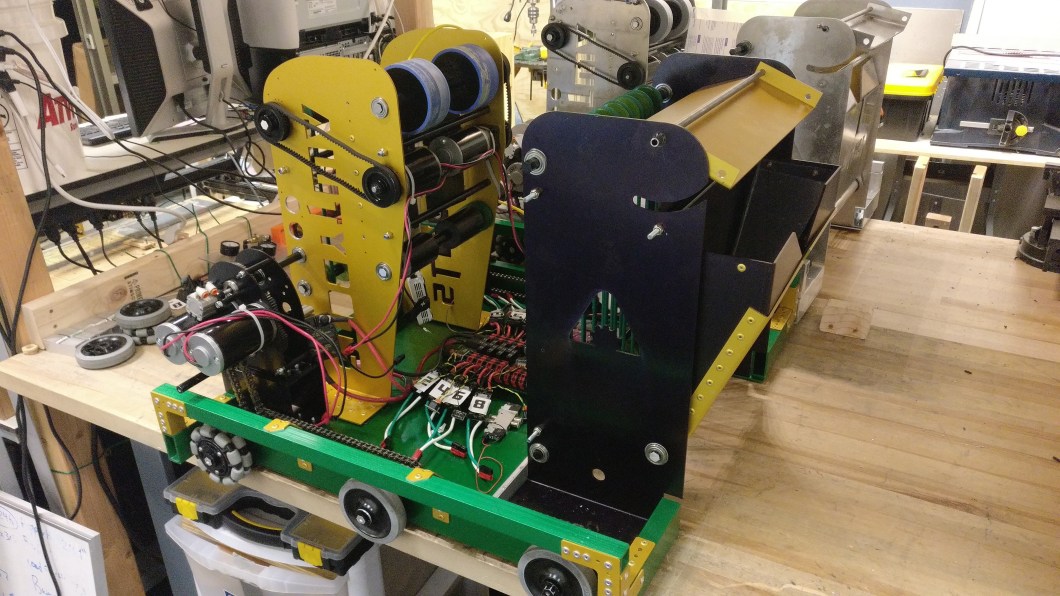
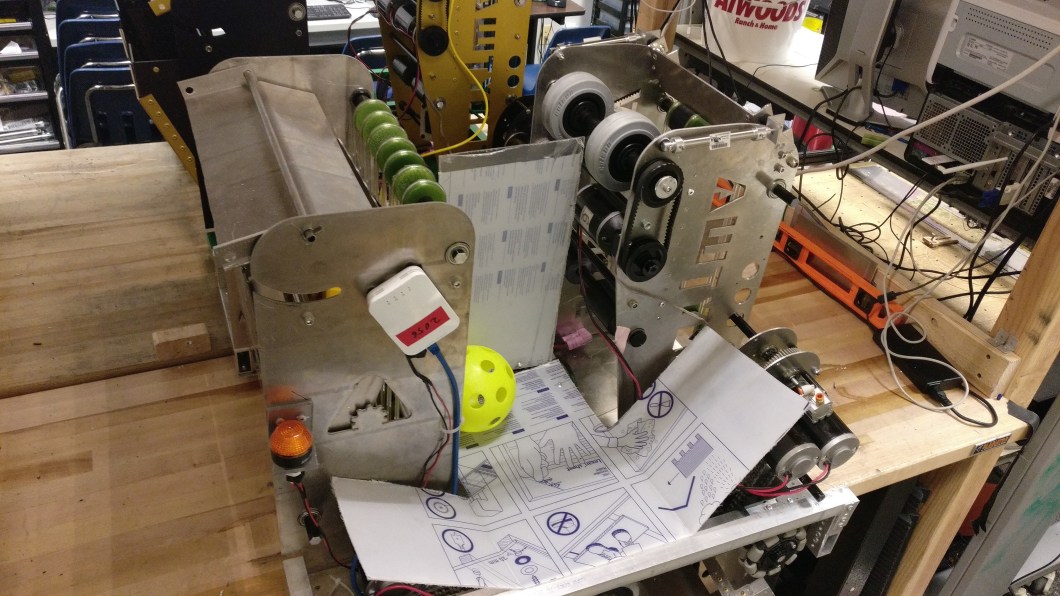
At the end of last week, we had the subsystems put together but nothing was assembled. We were able to get all of the subsystems on the robot and change some of the temporary things that we put on to hold the pistons on the intake for example.
Intake
In order to do that we needed to figure out a way to pin the shaft on the piston and the gear flap.
We did this with what we described in the last post (the retaining clips). These worked really well at allowing rotation of the shaft but also keeping it from sliding out.
https://www.mcmaster.com/#retaining-rings/=16ewypq
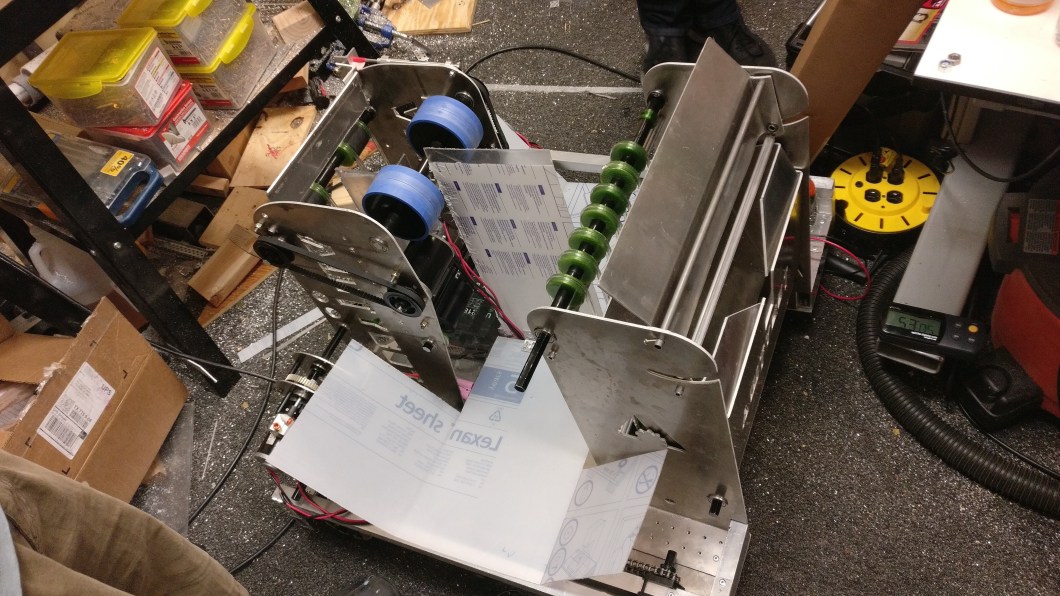
Hopper/ShooterIntake
We also made a divider for the hopper and the shooter and tested it. Right now the pulley that powers the front of the shooter intake is on the inside of the shooter and slightly gets in the way of one side of the balls. We are going to be moving it to the outside of the shooter in order to prevent that from happening. We have the room because the pulley that powers the shooter intake is on the outside anyways.
Hanging
The hanging subsystem is not on but we already know where it goes and how it works from our testing so we are hopefully going to put it on the competition robot first and then after bag put it and test on the practice bot. If something does not work right we will make sure to fix it and bring it as our 30 lbs.
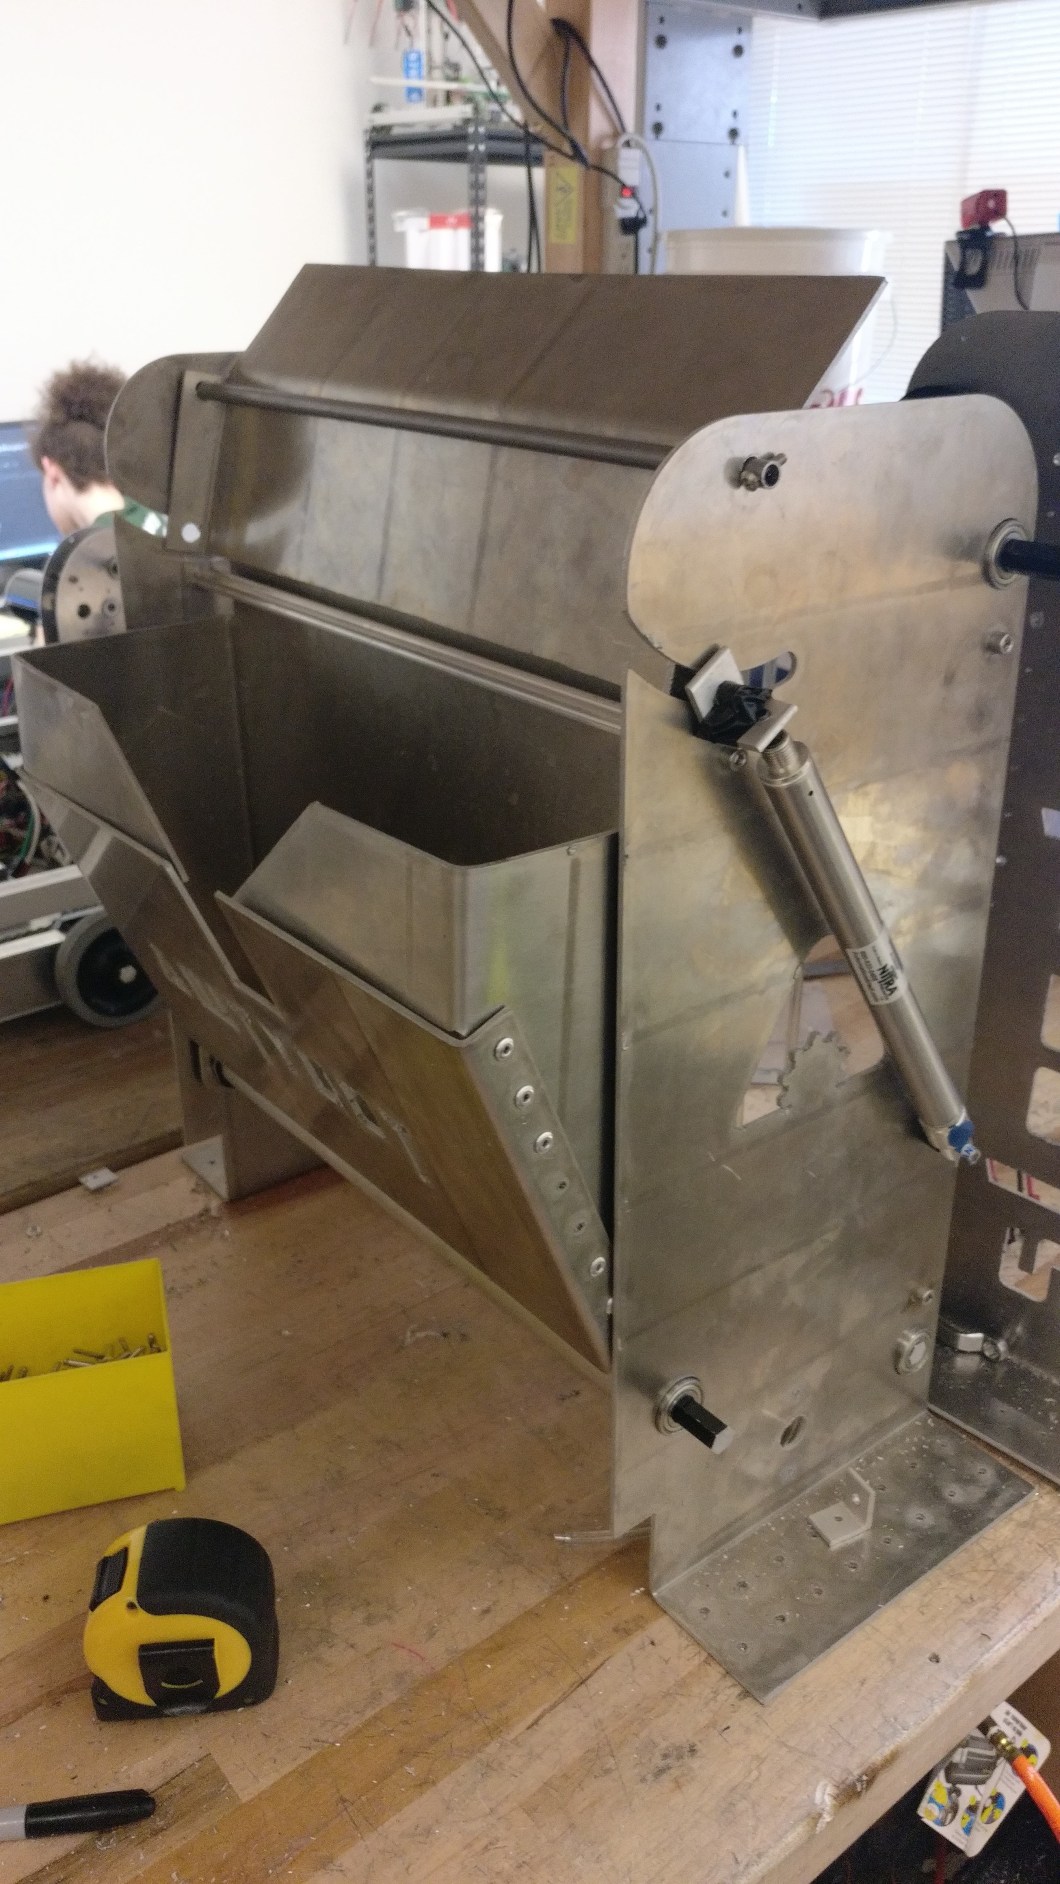
Shooter
The shooter hood was worked on and did not work for a while because of the attachment method. Instead of holding it forward to keep compression with a shaft behind the hood, we put l brackets on each side and the hood seems to work really well in the close shot orientation now. We still need to get the pistons attached and spaced out so that we can get the far shot tuned in and spaced correctly. This will hopefully let us shoot from the close hopper in autonomous.
We also did the math and we tried the Colsons again now that we are using a MiniCIM to power the shooter. The weight difference between one 1.5-inch wide Colson and 2 Andymark Stealth wheels is very small, so it was very close performance but with a lot better grip and we found that the very thin layer of the soft grippy material on the Andymark wheel wore pretty quickly.
Drivetrain/Autonomous
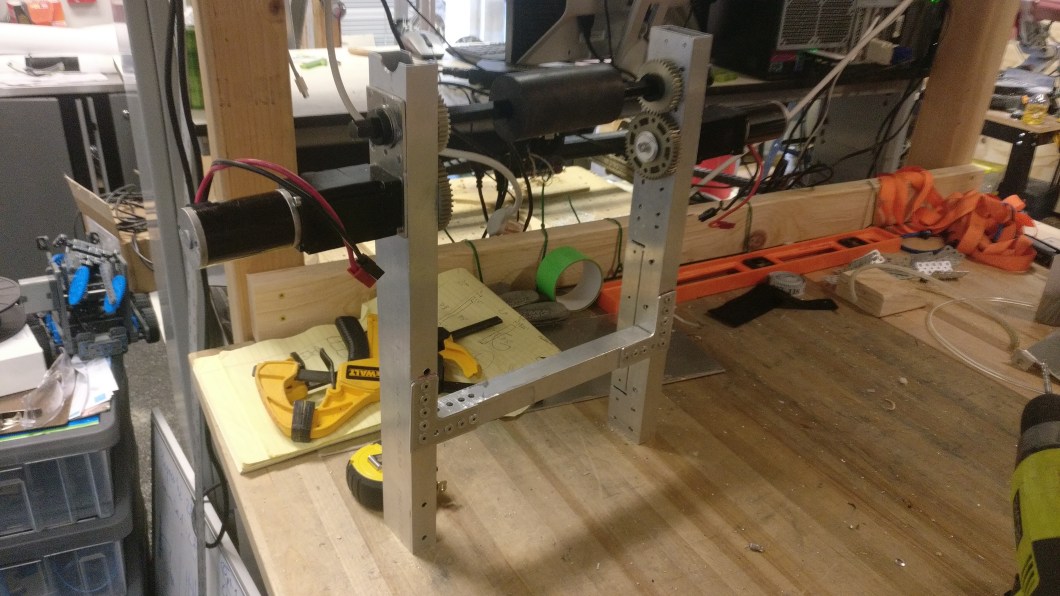
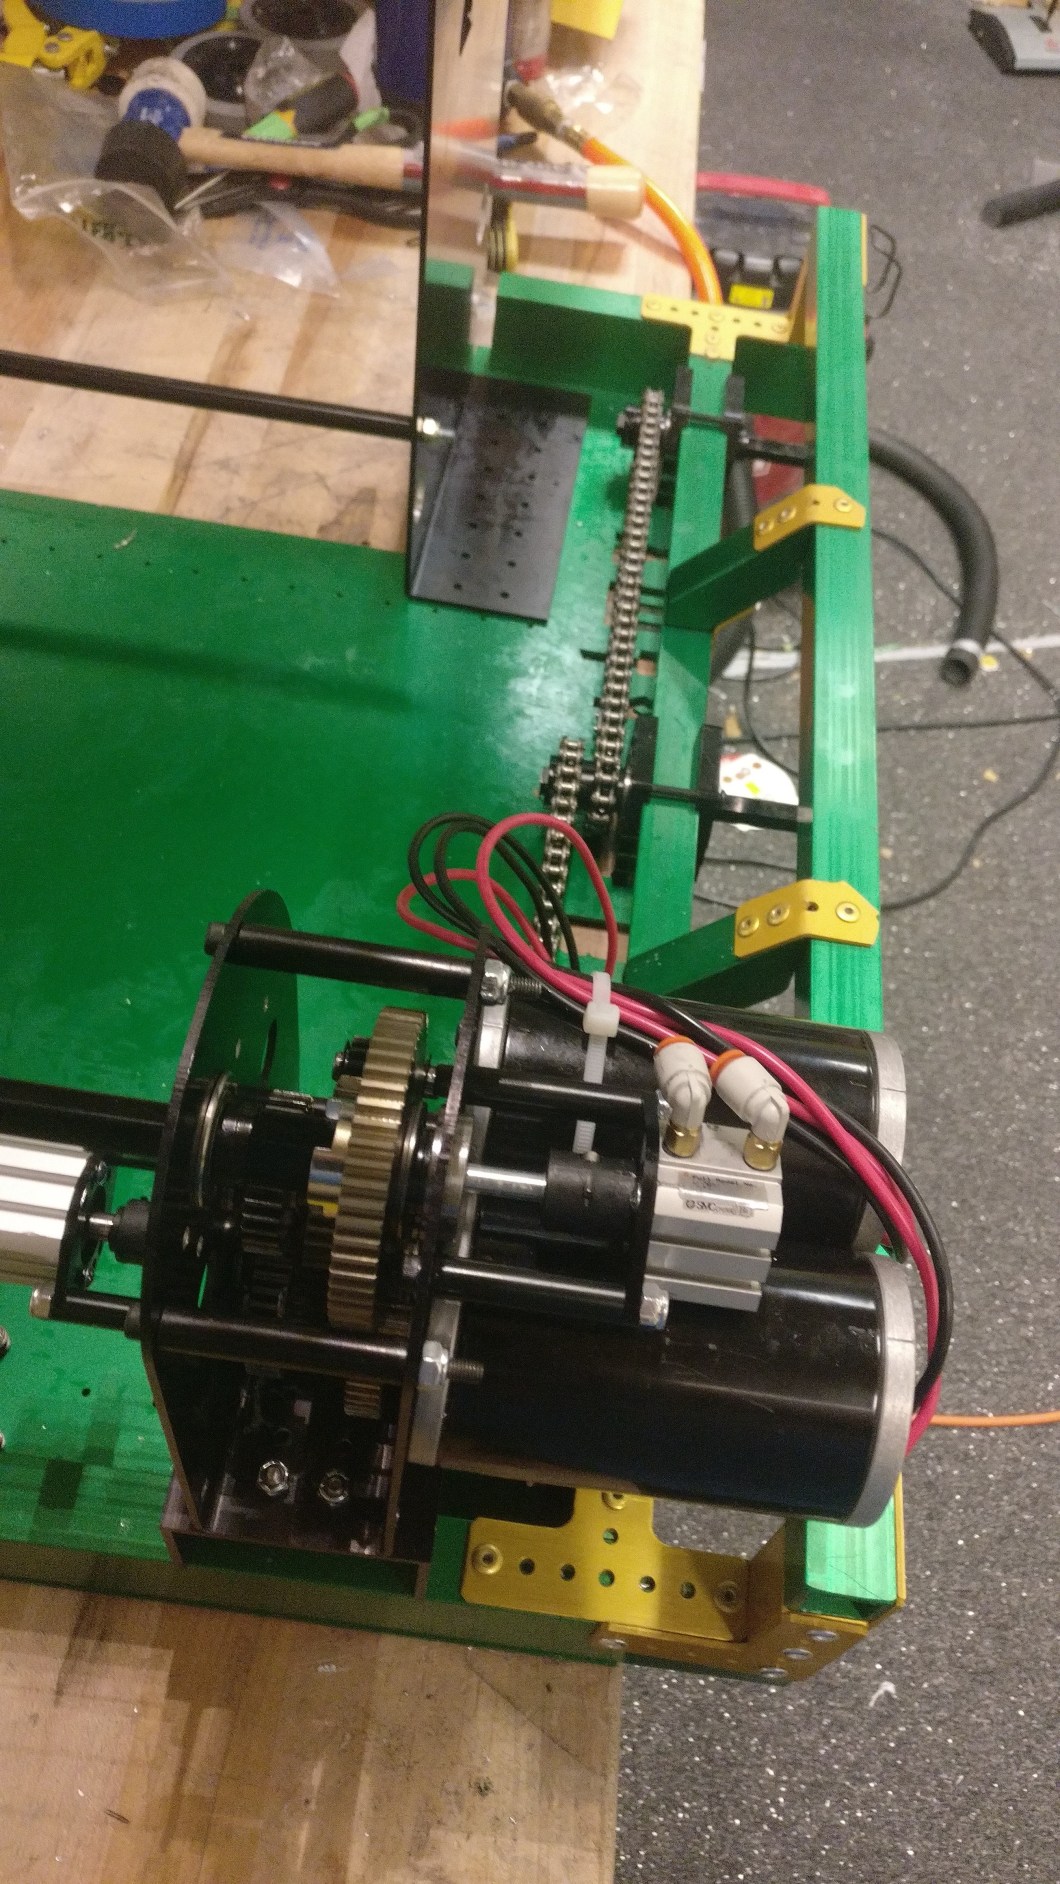
We started the week by trying to get the distance from the NavX as we already had it for turning to an angle and wanted to keep everything simple but it did not work. The accuracy of the NavX is not good enough for getting distance. Because of this, we decided that we need encoders on the wheels. We designed a plate that will let us put the SRX Mag encoders on the middle drive shafts. We did this on the practice bot. It took a little messing with to make sure they were all green (optimal distance from the sensor to the magnet) but we got it and it seems to have great resolution!
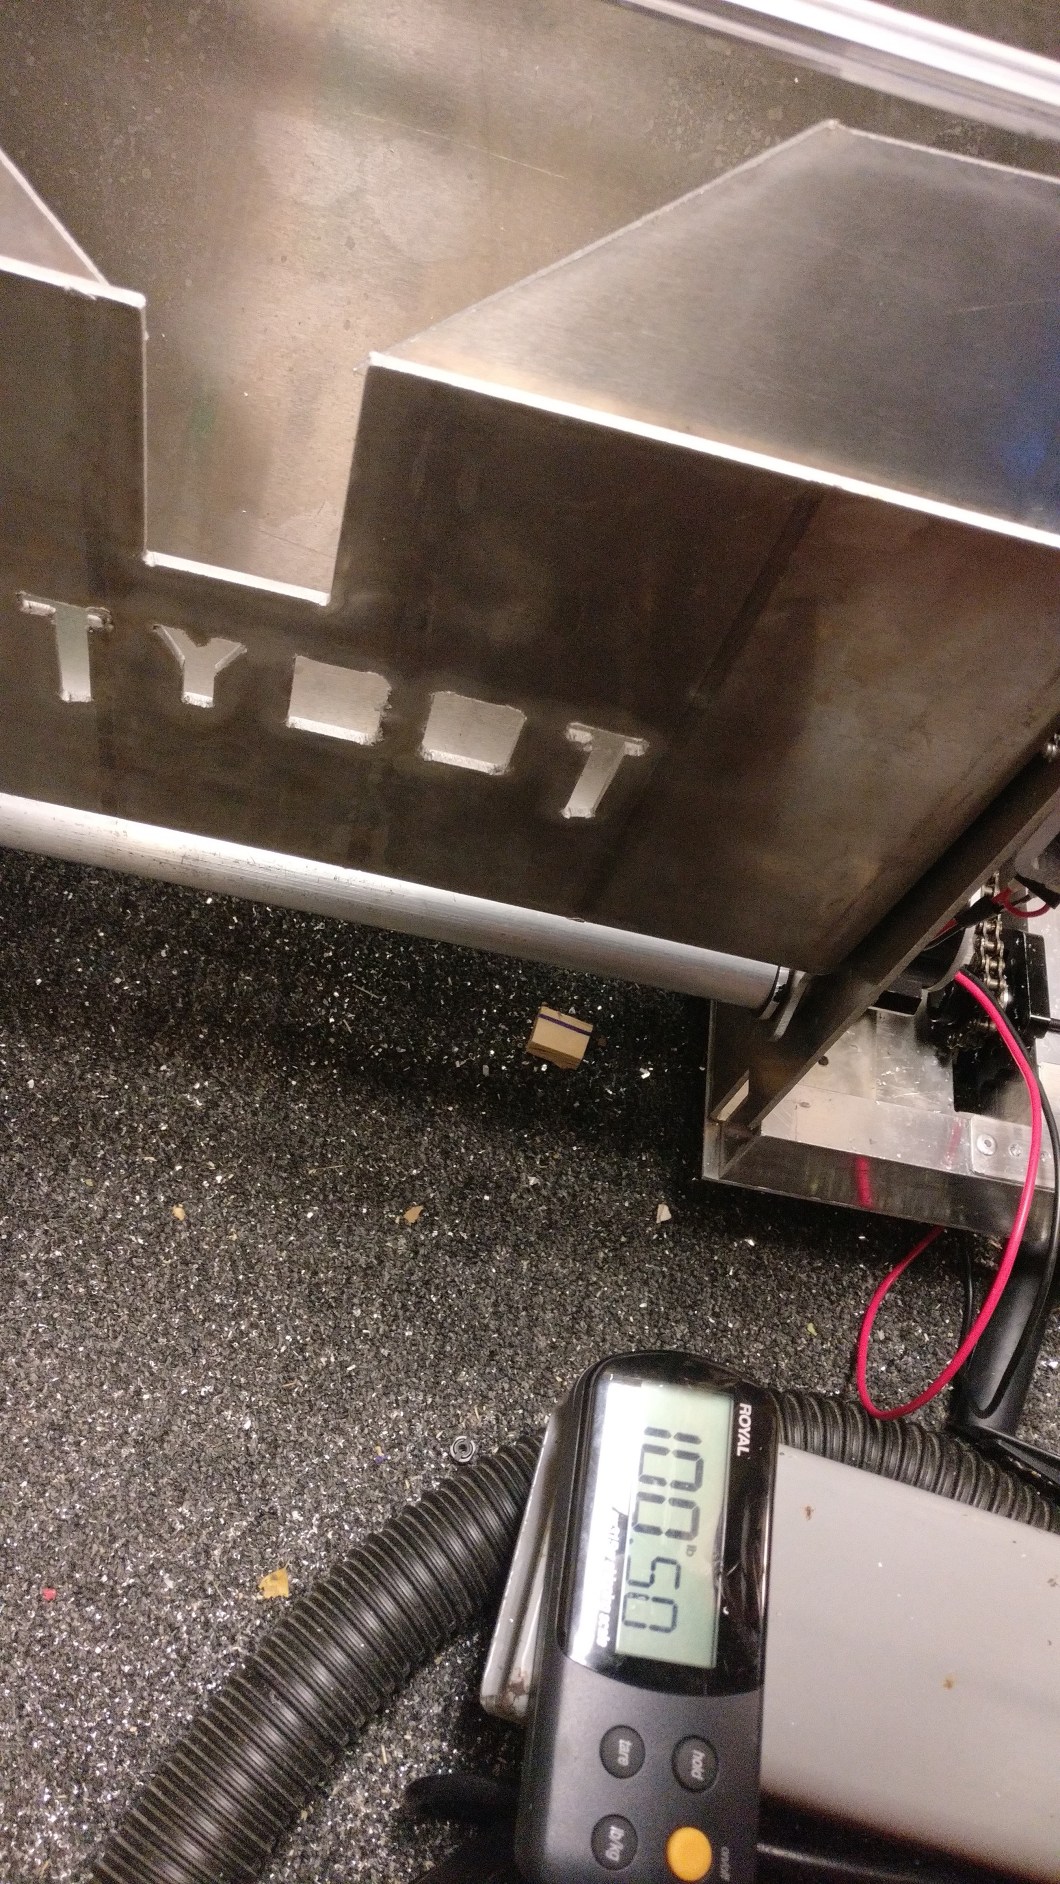
We also weighed our robot and with a battery, and it weighed in at around 100lbs.
Competition Robot
We got our anodized parts back last Saturday but the practice robot was not even close to being done so I kept them and waited until the practice bot was in good condition. Around Wednesday we started putting together the nice anodized parts. We already had the practice bot template where we encountered the issues so the completion of the anodized comp bot was easier as we knew how to do what.
The gearboxes, drivetrain and the chain were done first in order to make sure everything was tensioned properly before getting the shooter and electronics and intake on. The top dog gear was also installed with the shifting system for our climber/hanger if we want to power it from the drive instead of the 2 bag motors.
For the competition robot, the gear intake got some modifications with the Lexan plates inside to center the gear. These help a lot and the gear is now in the center every time it goes into the intake. This was just 2 Lexan pieces bent on our vice.
The intake was also put together with the rubber front roller and the polycord using the melting method instead of the hollow tube one. This allows for a stronger polycord and makes sure that the barb does not come out when it goes over the pulleys. The polycord can be found here and we have made our own pulleys as this allows us to control the compression of the intake and shooter intake.
https://www.mcmaster.com/#round-belts/=16exhwv
Lastly we added the encoder plates to the competition robot too and it was really hard getting the mounting holes lined up by hand so we had to modify them a little but in the end we were able to get the green light on the encoder and will be testing this as soon as the last part of the robot goes on, the intake.
This is what our 3D printer looks like:
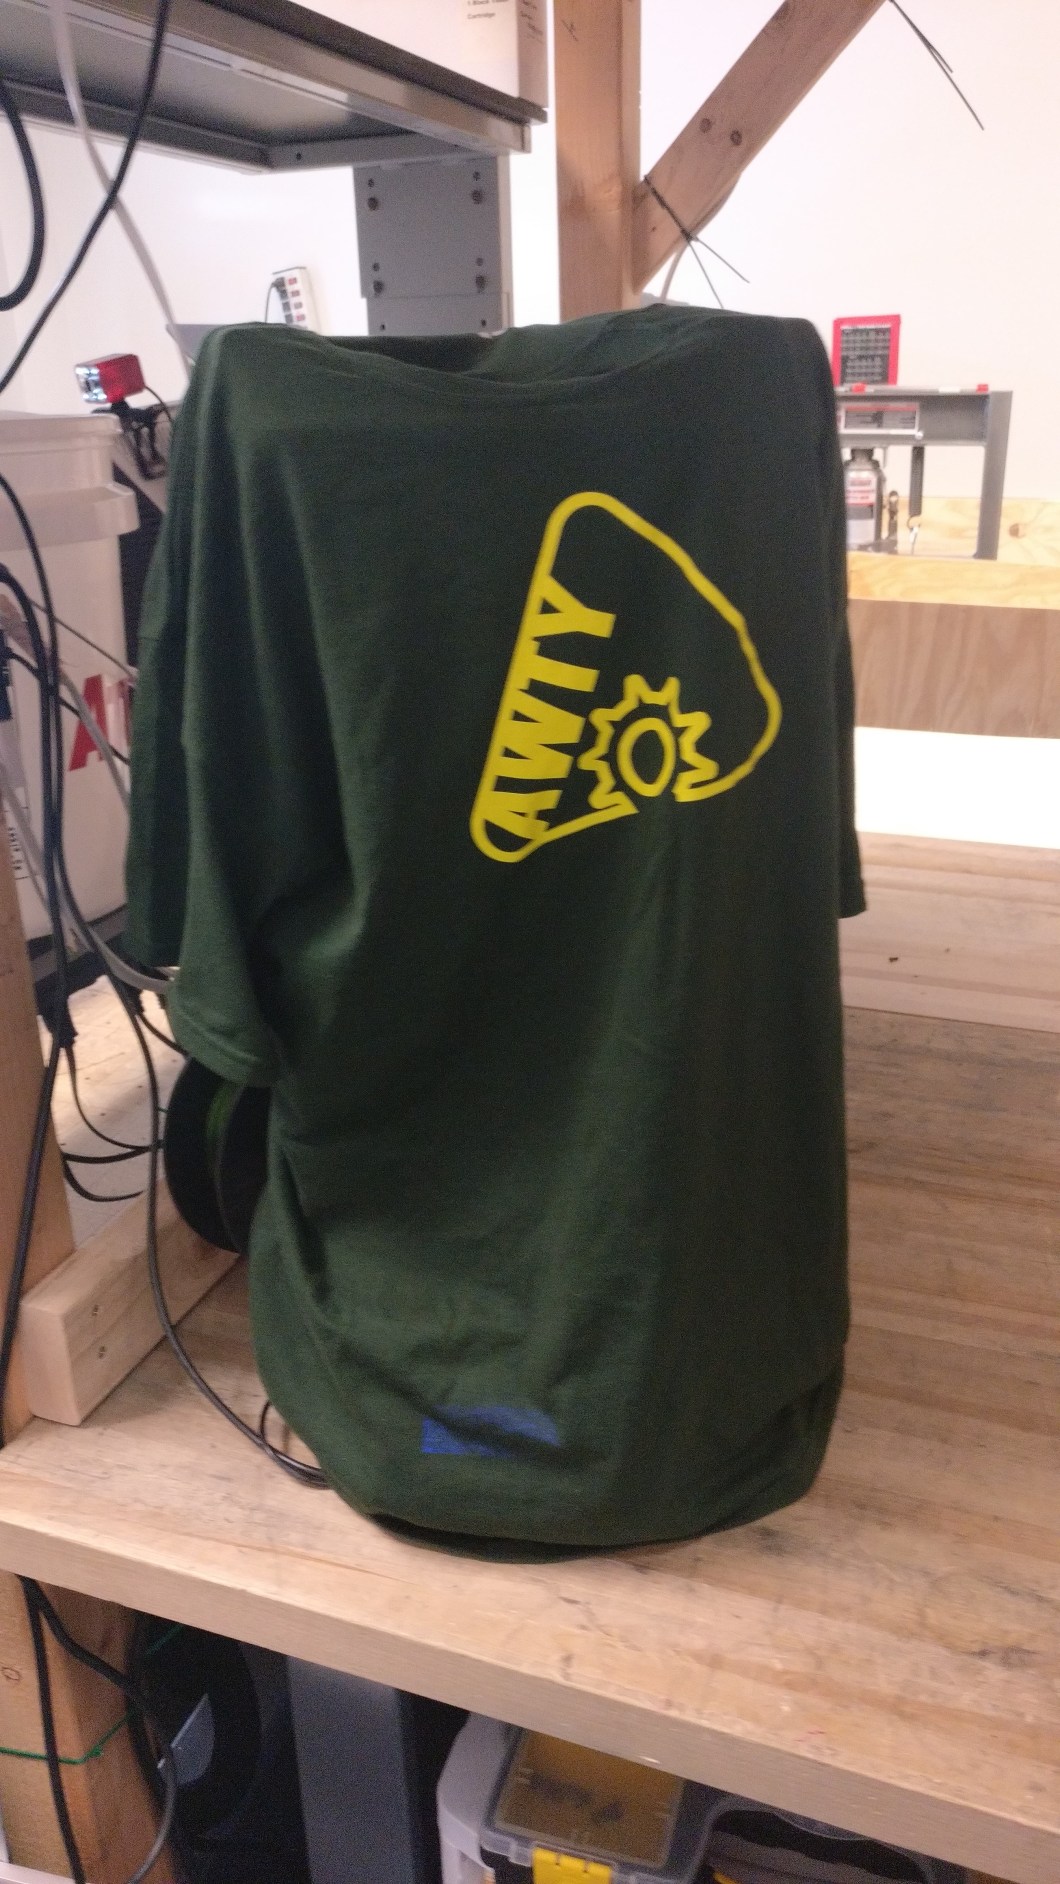
It is part of our team now, hence the awty shirt (but actually this prints better when the ambient temperature is higher and it acts as one of the covered 3d printers). We had a lot of issues with it messing up the print with the print coming off the bed so this seemed to help so far so we are sticking with it.
Overall pretty good progress this week. 2 robots are almost done! Electronics were finished on the competition robot today but we still have the pneumatic system to plumb.